Activating Areas
How to Activate Areas
-
Click on the Areas link under the Information & Analysis section on your home page.
-
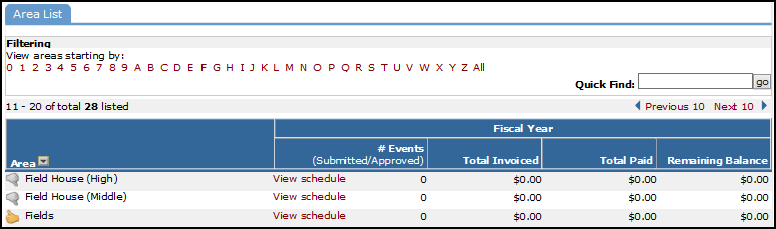
This brings you to a list of the available Areas with a gray thumbs-down beside each one. You can activate an area by clicking on the thumbs-down icon (
 ). It will change to the yellow thumbs-up (
 ) icon and your area will be activated.
 -
To activate multiple areas in one step, hover your mouse over the Shortcuts menu and select Manage Areas.
-
Put a check in the box next to the Areas that you would like to use in your account and scroll down to the bottom of the page and click Save.
When activating your Area types, you want to keep in mind how they will be used. If you are planning to use Fee Tables for invoicing, you will need to activate an area for each type of room or space for which a different rate is charged. The system determines which fees to pull in based on the Area Type that is associated to each Room on the schedule. For more information or assistance activating Area Types for use in Fee Tables, please contact the Client Service Center.
